Veg Biryani Recipe | Hyderabadi Veg Dum Biryani Recipe | Hyderabadi biryani with detailed photo and video recipe. A popular spice and vegetables mixed favored rice one pot meal recipe. It is typically prepared by layering the biryani gravy and basmati rice in a flat bottom vessel. Traditionally dum biryani is prepared with a mix of meat, vegetables, and rice, however, this is a vegetarian alternative with only vegetables.
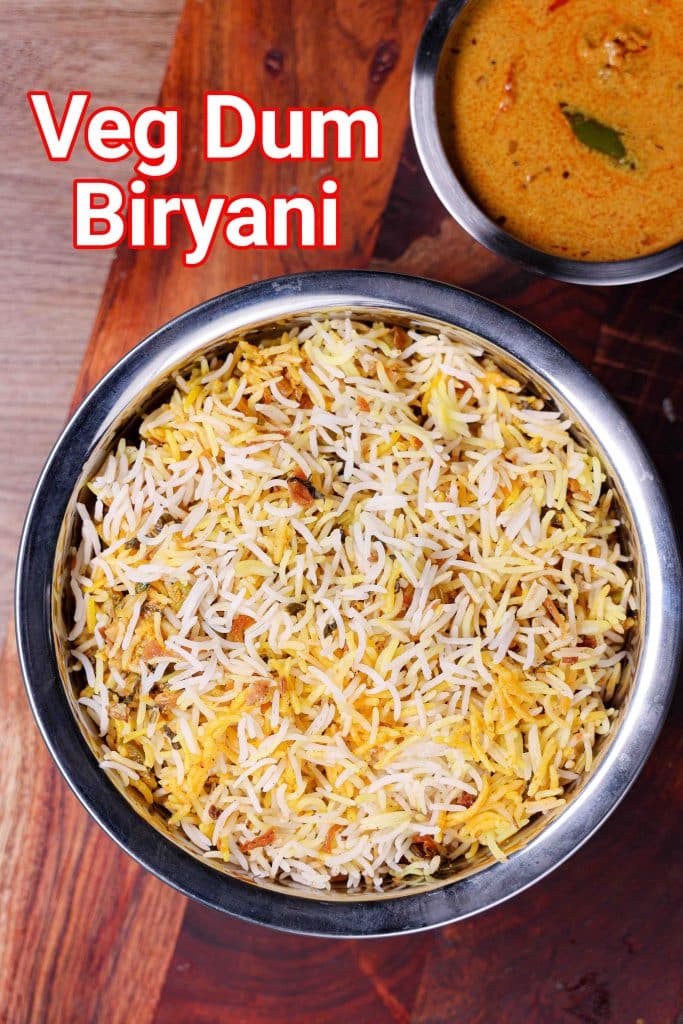
Veg Biryani Recipe | Hyderabadi Veg Dum Biryani Recipe | Hyderabadi biryani with step-by-step photo and video recipe. There are several variation and varieties to the biryani recipes which changes with the region and community. But the Hyderabadi dum biryani is the most popular recipe and is widely appreciated. It is generally served as the primary dish in a meal and is often served with a choice of raita and Mirchi ka Salan.
I had already shared a Hyderabadi Veg biryani recipe and it was prepared without the dum style of cooking. I had used normal kadai with just one layering of biryani gravy and cooked basmati rice. Also, I had served it with Bhindi Ka Salan but traditionally it is served with spicy Mirchi ka Salan and Shahi Tukda or double ka meetha dessert recipe. However, I personally like it with bhindi ka salan just because I feel the latter one is extra spicy. In addition, I serve it with tomato onion raita or mint raita which basically helps to lower the temperature of spice in dum biryani.

Furthermore, some important tips and recommendations for a perfect spicy veg dum biryani recipe. Firstly, I have used long-grain basmati rice in this dum biryani recipe and it is highly recommended to use it. However, Sona Masuri rice can also be used as an ideal alternative, but extra precautions may have to be taken. I have cooked the rice and biryani gravy separately, but it can be cooked together similar to my pressure cooker biryani recipe. Secondly, I have used Shaan Biriyani Masala and I personally like it compared to other spice mixes. You may choose as per your wish with the same steps highlighted here. Lastly, biryani rice always tastes better when served the next day. I always prepare it for dinner and for the next day’s lunch and it tastes better for my lunch.
Finally, I would like to highlight my other Rice Recipes Collection with this Hyderabadi veg biryani recipe. It mainly includes student biryani, dum aloo biryani, paneer biryani, veg pulao, pudina pulao, coriander pulao, tomato pulao, Kashmiri pulao, lemon rice and capsicum rice recipe. In addition, do visit my other recipes collection with this post like,
About Veg Biriyani
It is basically a vegetarian alternative to the popular meat-based rice biriyani dedicated to vegetarian or non-meat eaters. In other Veg Biriyani most commonly known as Veg Dum Biriyani is made with a combination of vegetables as an alternative to meat variants like chicken or mutton options. The concept of Veg Biriyani was introduced very recently but has gained a lot of popularity among both veg and non-vegetarians. It is mainly due to the combination of authentic flavor, taste, and the range of spices it has to offer.
There are myriad ways to make this simple and tasty rice-based dish, but the most common way is the Hyderabadi Dum Biriyani Recipe. In this variant, the rice and gravy are cooked separately but then layered and slow-cooked. This style of slow cooking is known as Dum cooking. This also helps to infuse a lot of flavor to the long grain rice from the gravy, yet keeping the integrity of the rice. The other popular ways include mixing rice and gravy together to make moist and flavored rice. This can be either pressure-cooked or pan-cooked.
Chef Tips for Veg Biriyani
There are many variables to be considered while preparing the biriyani recipe. Some simple and effective tips should really help to make it better
- Rice selection – The typical choice for any biriyani recipe is long-grain basmati rice. Particularly it is cooked in such a fashion that, it remains long, non-sticky, and not mushy. There are other types of biriyani where other types of rice can be chosen. However, basmati rice is most recommended.
- Slow cooking – The taste of biriyani builds as it gets cooked slowly in a slow flame. Particularly the dum biriyani has to be cooked in that way. More importantly, the biriyani tastes great when rested.
- Vegetables – The choice of vegetables is super important for veg biriyani. The most basic combination is potatoes, carrots, beans, peas and mushrooms. Also, do not overpower each other and keep it balanced.
- Biriyani Masala – Biriyani Spice Mix plays a huge role in this rice-based dish. I typically use homemade or Shaan Brand Bombay Biriyani Mix for most of my biriyani recipes. However, any tried and tested spice mix can be used with the below-mentioned recipe.
- Accompaniments – Typically the dum biriyani is served with spicy gravy Mirchi ka Salan and raita. Salan, helps t make raise more flavored and moist whereas the raita helps to lower the spice level.
Why does this recipe work
There are many simple and complex reasons why the biriyani recipe is super popular across India if not globally. Some major reasons are
- Premium Flavor – In Indian cuisine, the rice biriyani is considered to be the most flavored and tasty rice recipe. There are various instant and traditional rice-based pulao and fried rice, but nothing comes close to the flavors of the biriyani recipe.
- One Pot Meal – Compared to the other rice or bread recipes, which typically require curry, dal, or sambar. The biriyani recipes do not require any additional main dishes to serve with it.
- Comfort Food – Traditionally, biriyani recipes were considered as premium limited to celebrations and festivals. However, due to its popularity, it is now used in day-to-day meals due to its comfort and pleasing appetite.
- Versatility – The rice and biryani gravy can be cooked in multiple ways. The most common way is the dum style with rice and gravy cooked in layers. Alternatively, you can mix it all together and pressure cook it. Also, it can take, meat, veggies, and a combination of mixed herbs.
- Healthy – Due to the combination of spices used with rice and fresh herbs, it is considered to be digestion-friendly and improves gut health. Particularly, the meat biriyani is a packaged meal with all proteins, carbs, and fiber in one meal.
Video Recipe:
Recipe Card for Veg Dum Biryani:

Veg Dum Biryani | Hyderabadi Veg Biryani Recipe | Hyderabadi Biryani
Ingredients
for marination:
- 1 cup curd
- 2 tbsp ginger garlic paste
- 2 chilli, chopped
- 2 tsp lemon juice
- 2 tsp oil
- ½ tsp turmeric
- 1 tsp chilli powder
- 1 tsp coriander powder
- 2 tbsp garam masala
- 1 tsp salt
- 2 potato, cubed
- 5 beans, chopped
- 1 carrot, chopped
- 3 tbsp peas
- 10 mushroom, chopped
- 3 tbsp mint, chopped
- 3 tbsp coriander, chopped
for rice:
- 2 cup basmati rice
- water, for soaking & boiling
- spices
- 3 chilli, slit
- 2 tbsp coriander, chopped
- 2 tbsp mint, chopped
- 2 tbsp salt
- 2 tsp lemon juice
- 1 tsp ghee
for biryani:
- 2 tbsp ghee
- 2 tbsp oil
- 1 onion, sliced
- 1 capsicum, cubed
- fried onion
- ½ cup saffron milk
- 1 tsp biryani masala
- 2 tsp ghee
Instructions
How to marinate vegetables for biryani:
- Firstly, in a bowl take 1 cup curd, 2 tbsp ginger garlic paste, 2 chilli, 2 tsp lemon juice, 2 tsp oil, ½ tsp turmeric, 1 tsp chilli powder, 1 tsp coriander powder, 2 tbsp garam masala and 1 tsp salt.
- Whisk and mix well making sure everything is well combined.
- Add 2 potato, 5 beans, 1 carrot, 3 tbsp peas, 10 mushroom, 3 tbsp mint and 3 tbsp coriander.
- Mix well making sure everything is well combined. cover and marinate for 30 minutes.
How to make biryani base:
- Firstly, in a large kadai heat 2 tbsp ghee and 2 tbsp oil.
- Add 1 onion and fry until the onions turn golden brown.
- Add 1 capsicum and fry until the capsicum turns crunchy.
- Furthermore, add the prepared marination mixture and mix well.
- Cover and cook for 10 minutes, or until the vegetables are cooked almost. Keep aside.
- How to cook rice for biryani:
- Firstly, rinse and soak 2 cup basmati rice for 30 minutes.
- Now in a large vessel take enough water.
- Add mixed spices, 3 chilli, 2 tbsp coriander, 2 tbsp salt, 2 tsp lemon juice and 1 tsp ghee.
- Boil for 5 minutes, or until the water turns flavourful.
- Now add in soaked basmati rice and mix gently.
- Boil for 5. minutes, or until the rice is 80% cooked.
- Further, drain off the rice, and the rice is ready for layering in the biryani.
How to layer the dum biryani:
- Firstly, spread out the biyani gravy base onto the kadai. Top with fried onion, coriander, and mint.
- Further top with cooked rice and level out uniformly.
- Also top with fried onion, coriander, and mint.
- Pour ½ cup saffron milk, 1 tsp biryani masala and 2 tsp ghee.
- Cover and seal using almunium foil.
- Simmer for 20 minutes, or until the rice is cooked well. make sure to rest for at least 30 minutes, before serving the veg dum biryani.
- Finally, enjoy Veg Dum Biryani with salan and raita.
Nutrition
How to Make Veg Biryani with step-by-step photos:
How to marinate vegetables for biryani:
- Firstly, in a bowl take 1 cup curd, 2 tbsp ginger garlic paste, 2 chilli, 2 tsp lemon juice, 2 tsp oil, ½ tsp turmeric, 1 tsp chilli powder, 1 tsp coriander powder, 2 tbsp garam masala and 1 tsp salt.
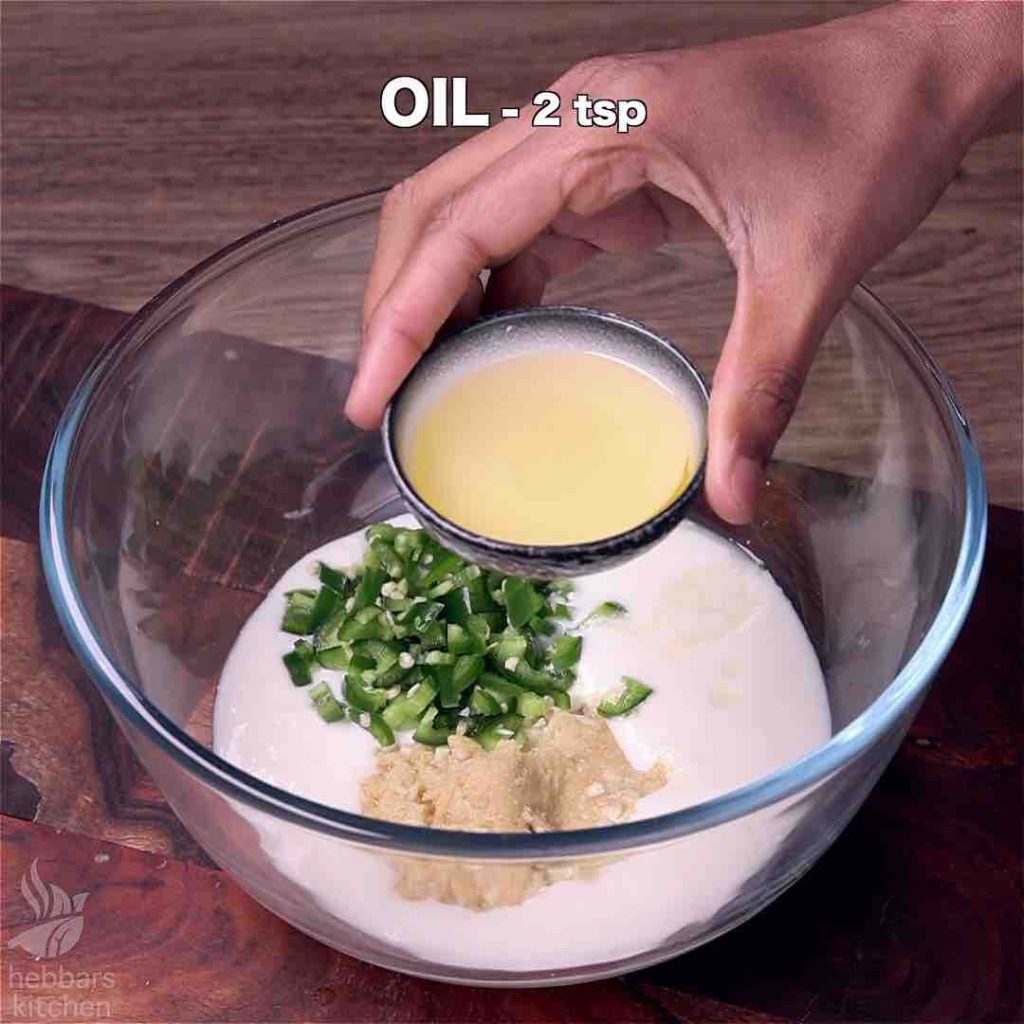
- Whisk and mix well making sure everything is well combined.

- Add 2 potato, 5 beans, 1 carrot, 3 tbsp peas, 10 mushroom, 3 tbsp mint and 3 tbsp coriander.
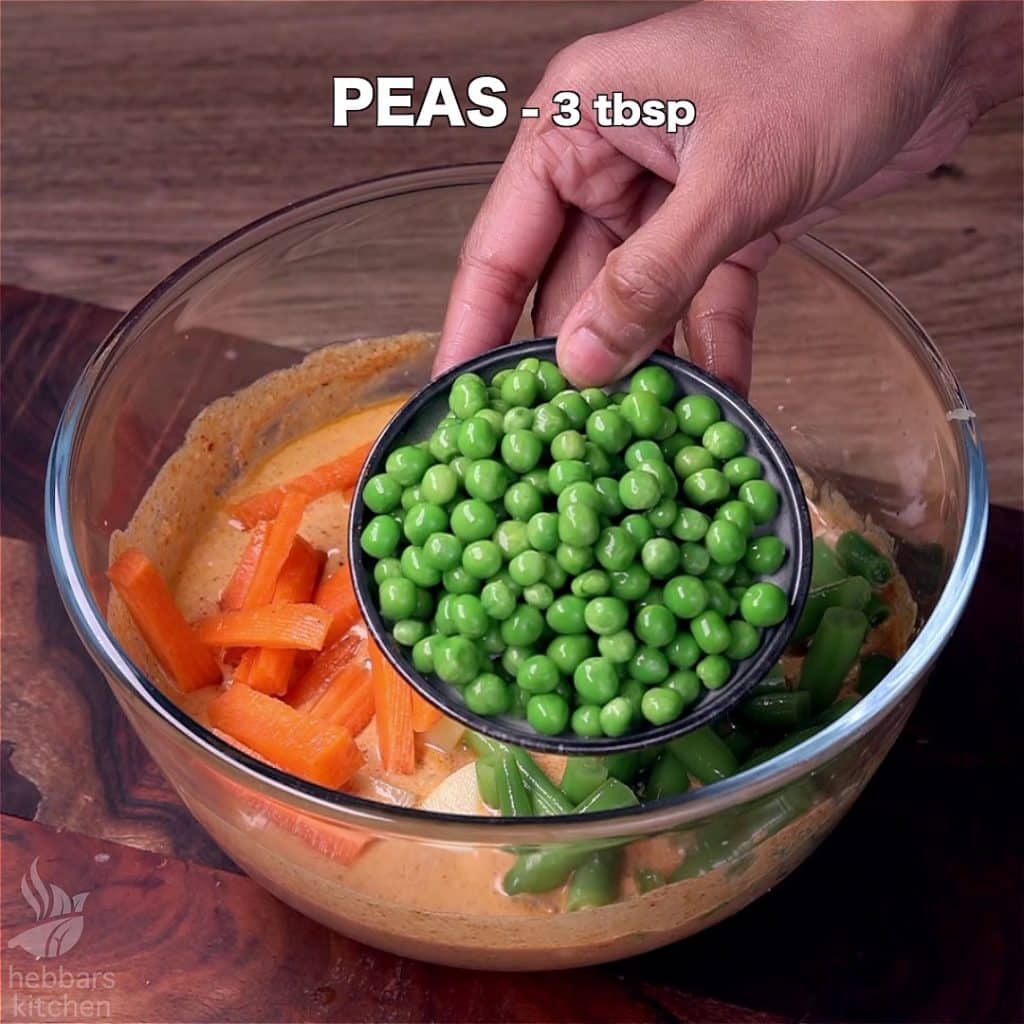
- Mix well making sure everything is well combined. cover and marinate for 30 minutes.

How to make biryani base:
- Firstly, in a large kadai heat 2 tbsp ghee and 2 tbsp oil.
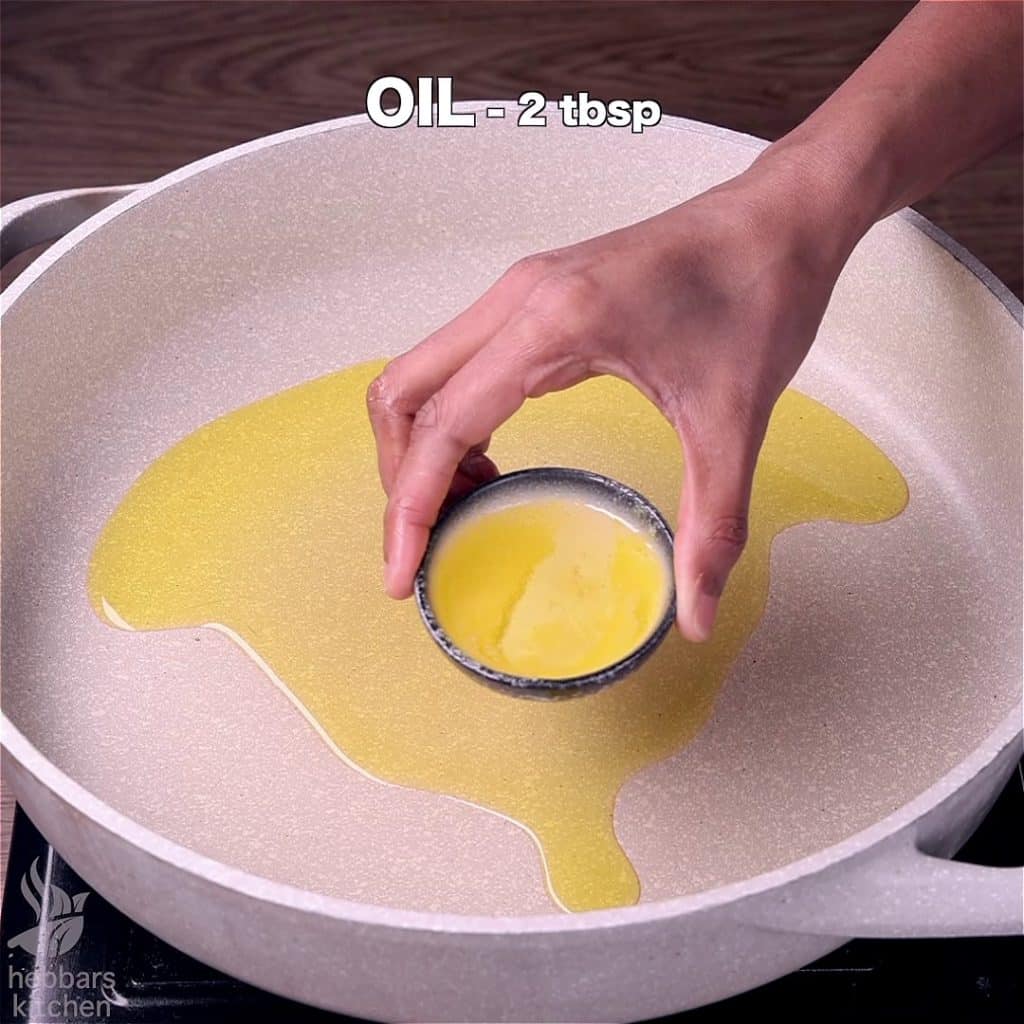
- Add 1 onion and fry until the onions turn golden brown.
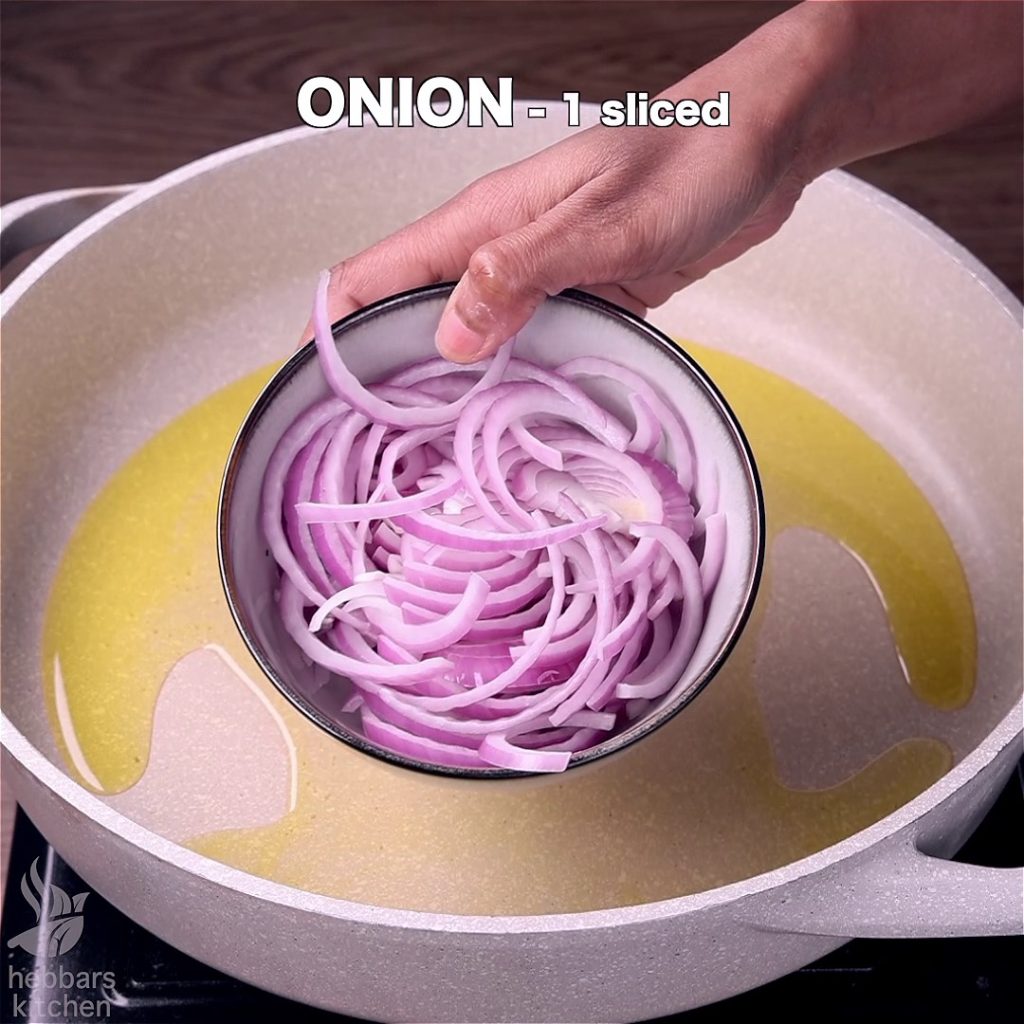
- Add 1 capsicum and fry until the capsicum turns crunchy.
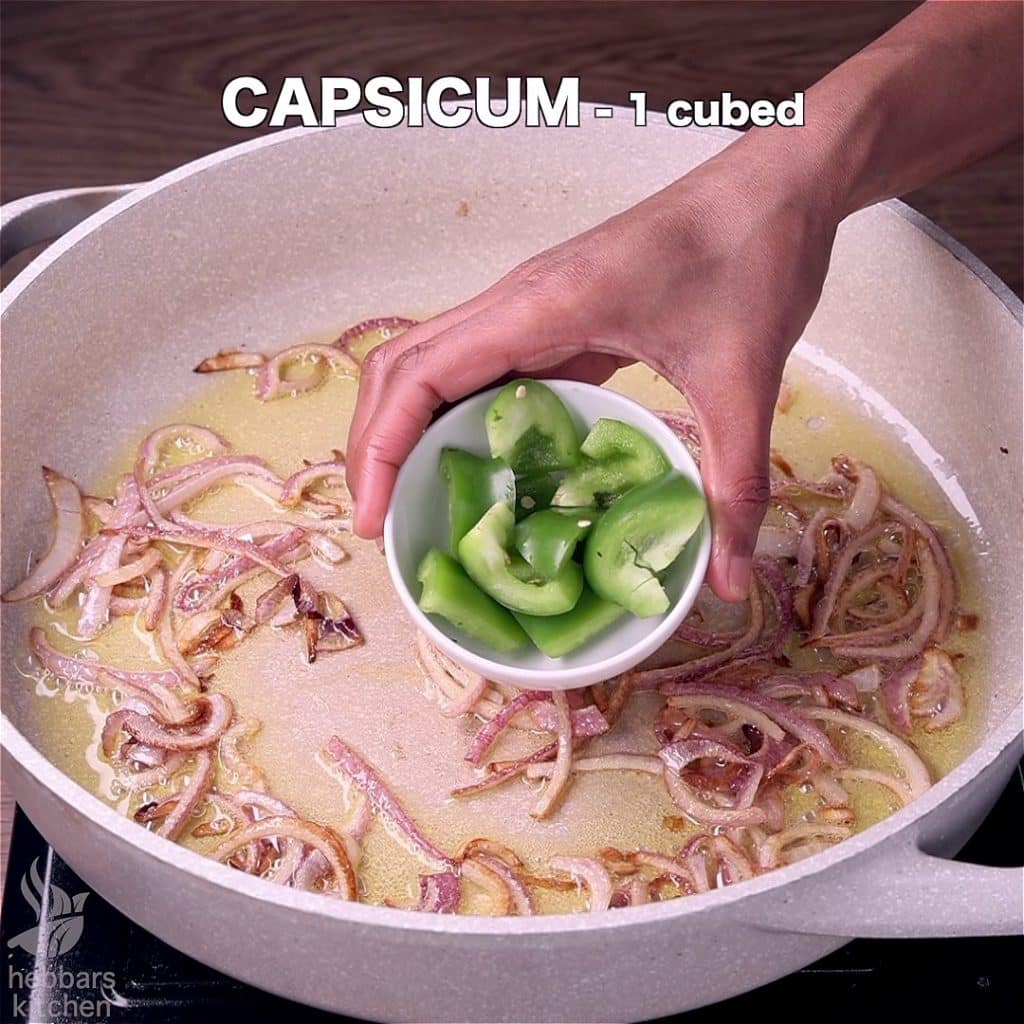
- Furthermore, add the prepared marination mixture and mix well.
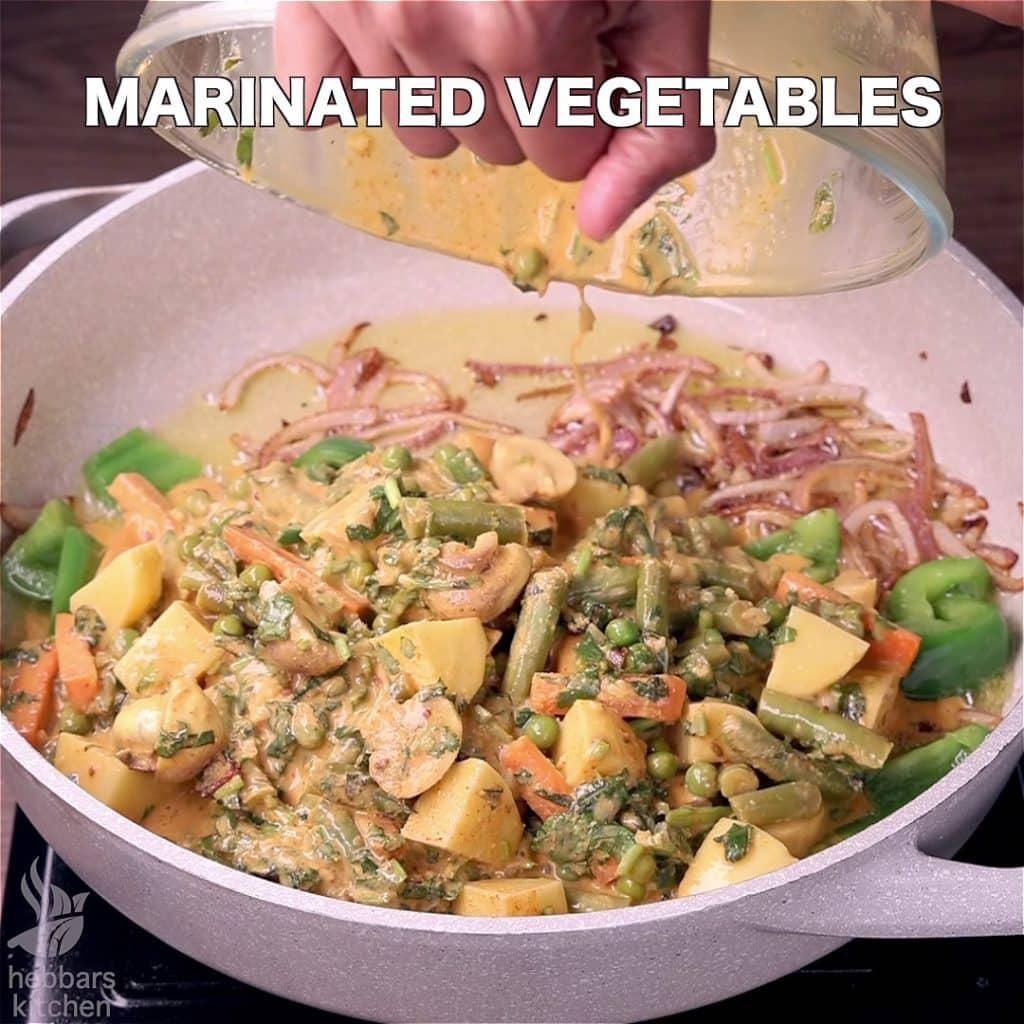
- Cover and cook for 10 minutes, or until the vegetables are cooked almost. Keep aside.

How to cook rice for biryani:
- Firstly, rinse and soak 2 cup basmati rice for 30 minutes.

- Now in a large vessel take enough water.
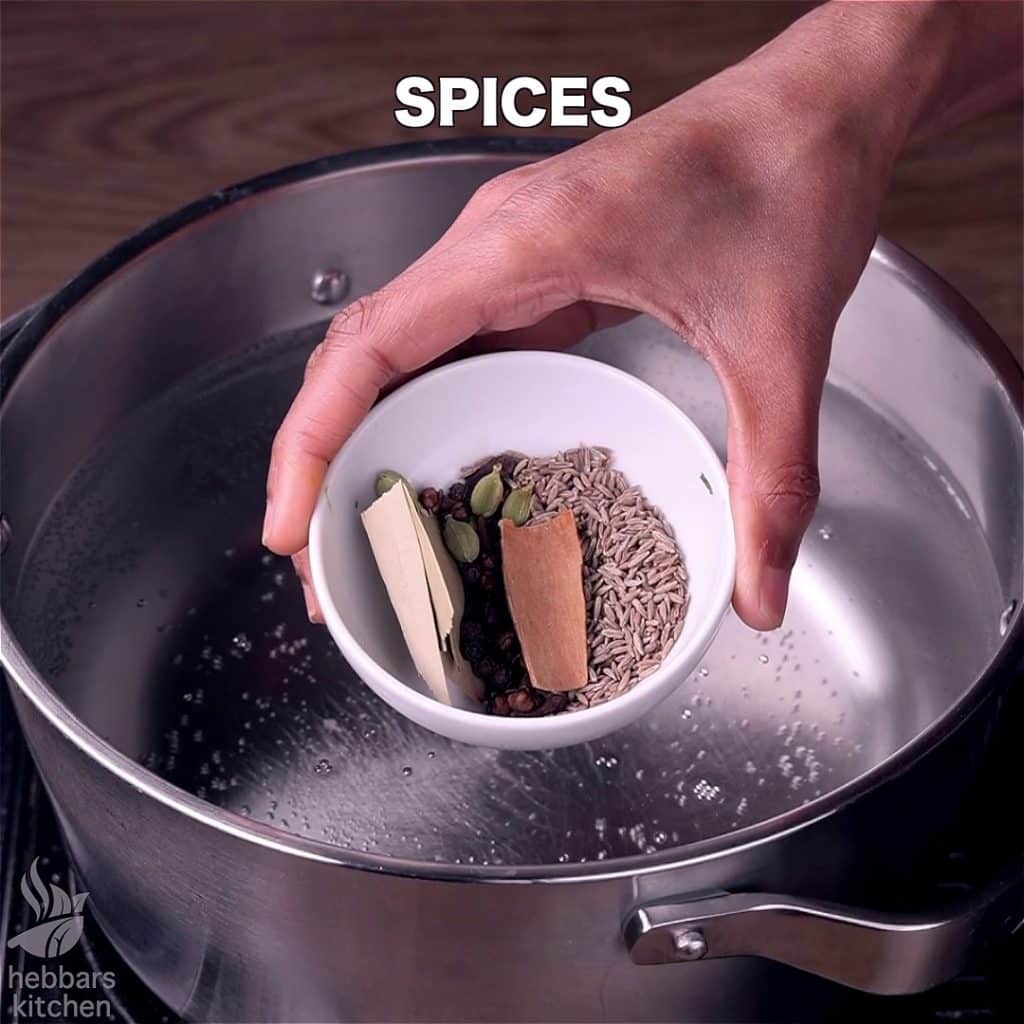
- Add mixed spices, 3 chilli, 2 tbsp coriander, 2 tbsp salt, 2 tsp lemon juice and 1 tsp ghee.
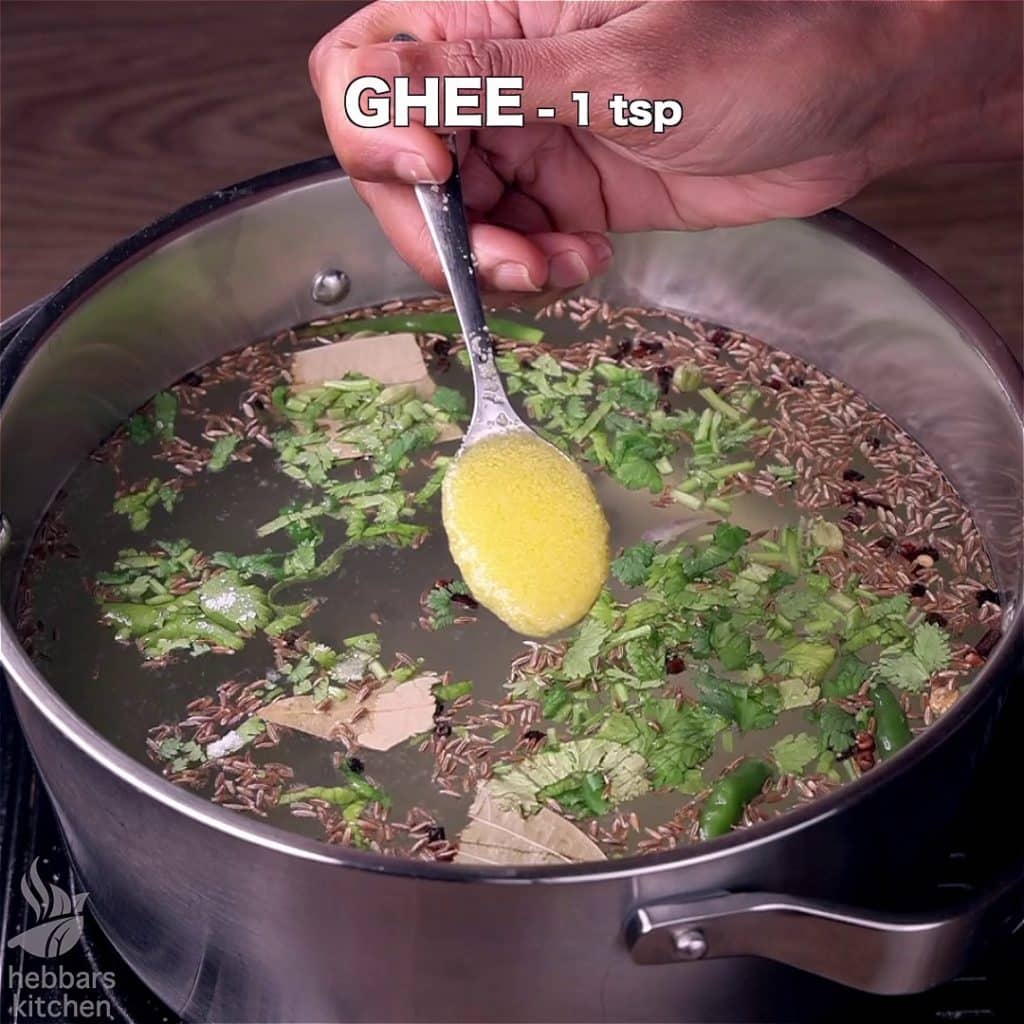
- Boil for 5 minutes, or until the water turns flavourful.

- Now add in soaked basmati rice and mix gently.
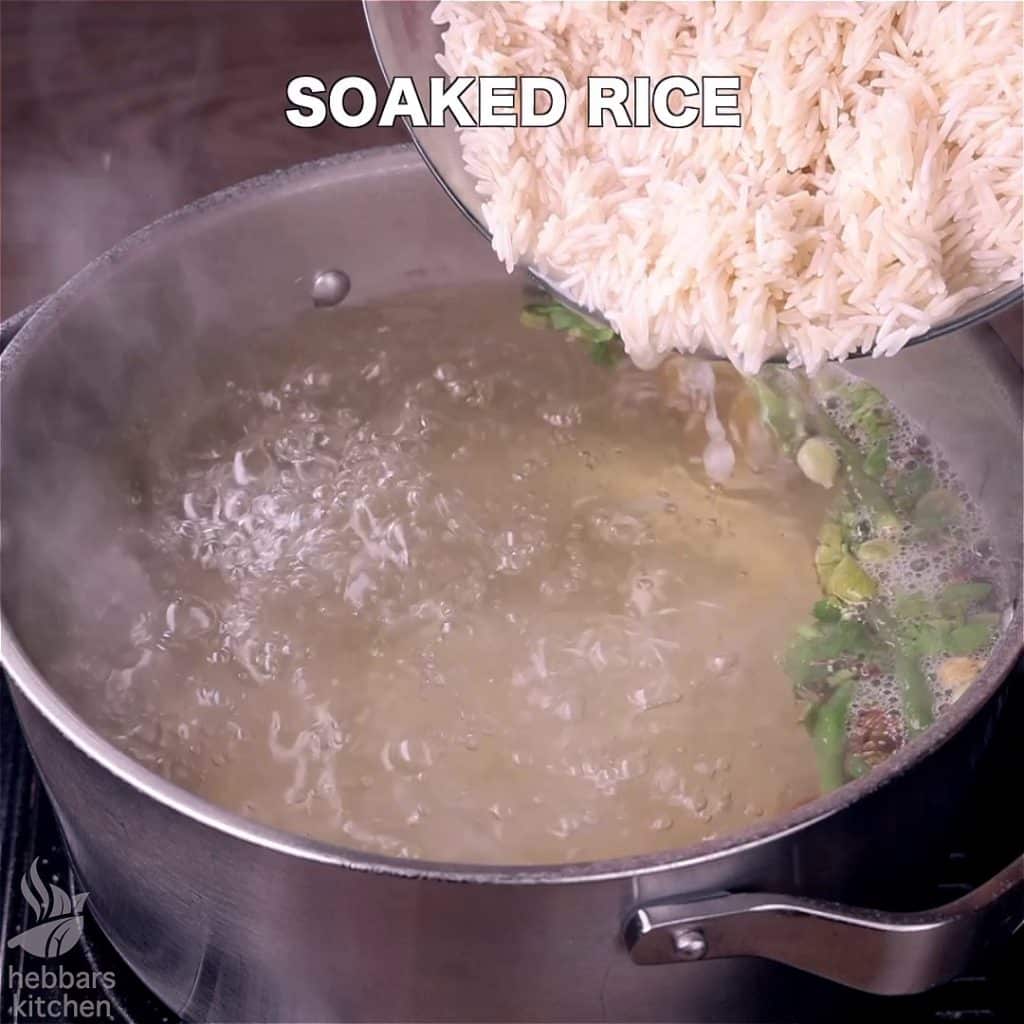
- Boil for 5 minutes, or until the rice is 80% cooked.

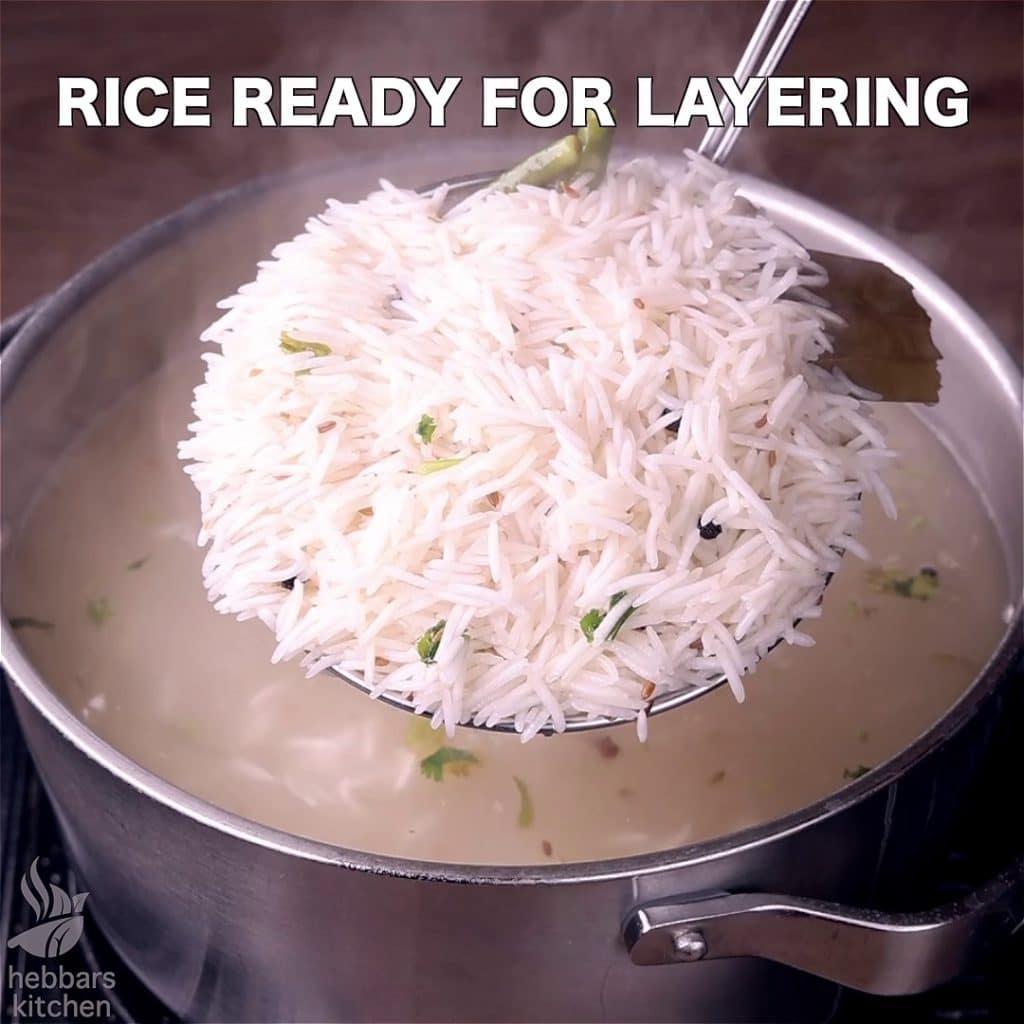
- Further, drain off the rice, and the rice is ready for layering in the biryani.
How to layer the dum biryani:
- Firstly, spread out the biyani gravy base onto the kadai. Top with fried onion, coriander, and mint.
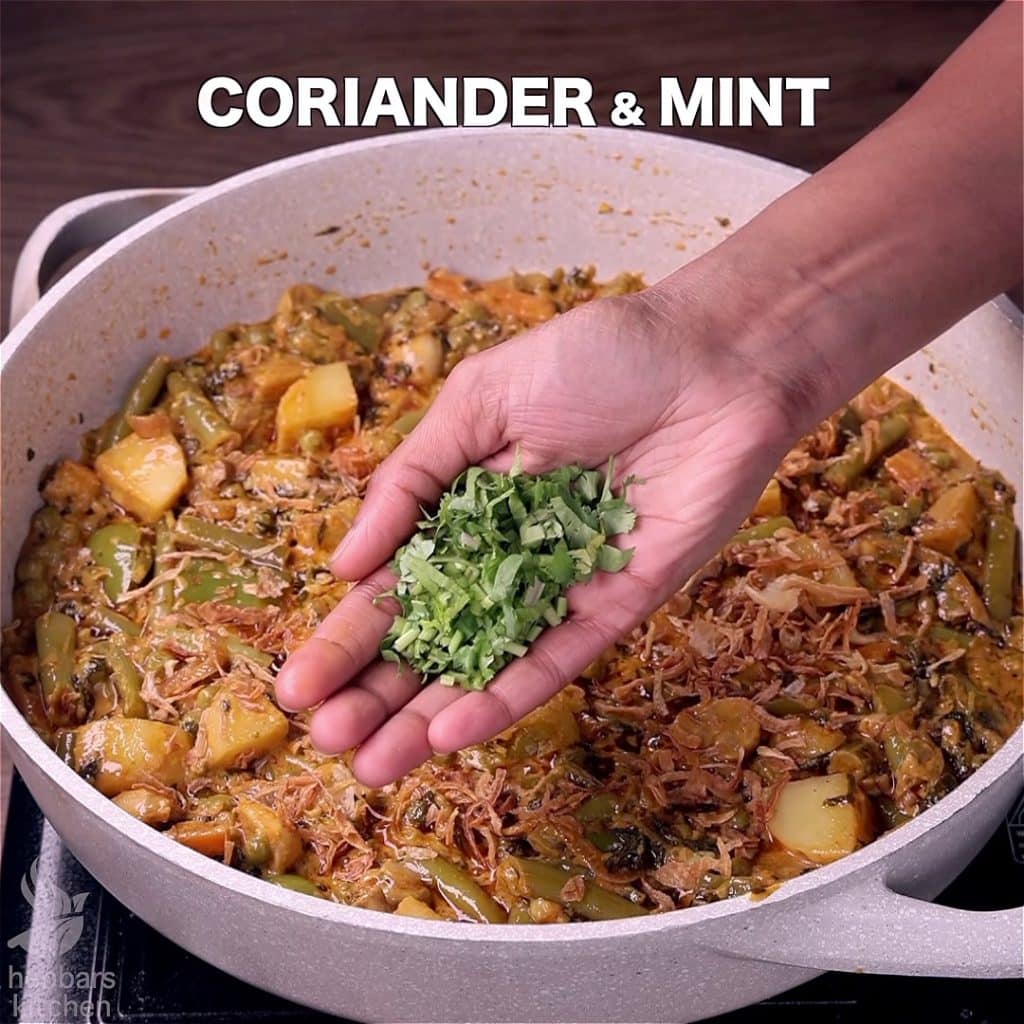
- Further top with cooked rice and level out uniformly.
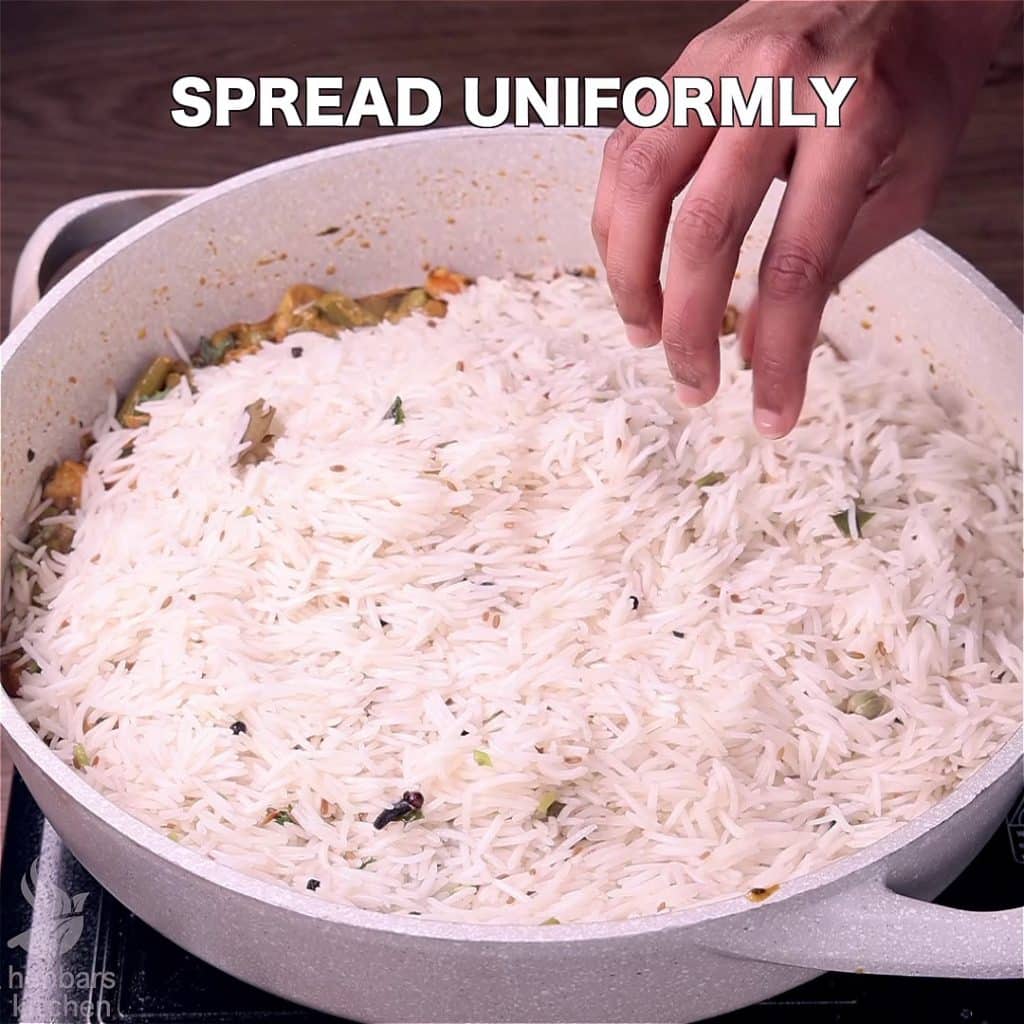
- Also top with fried onion, coriander, and mint.
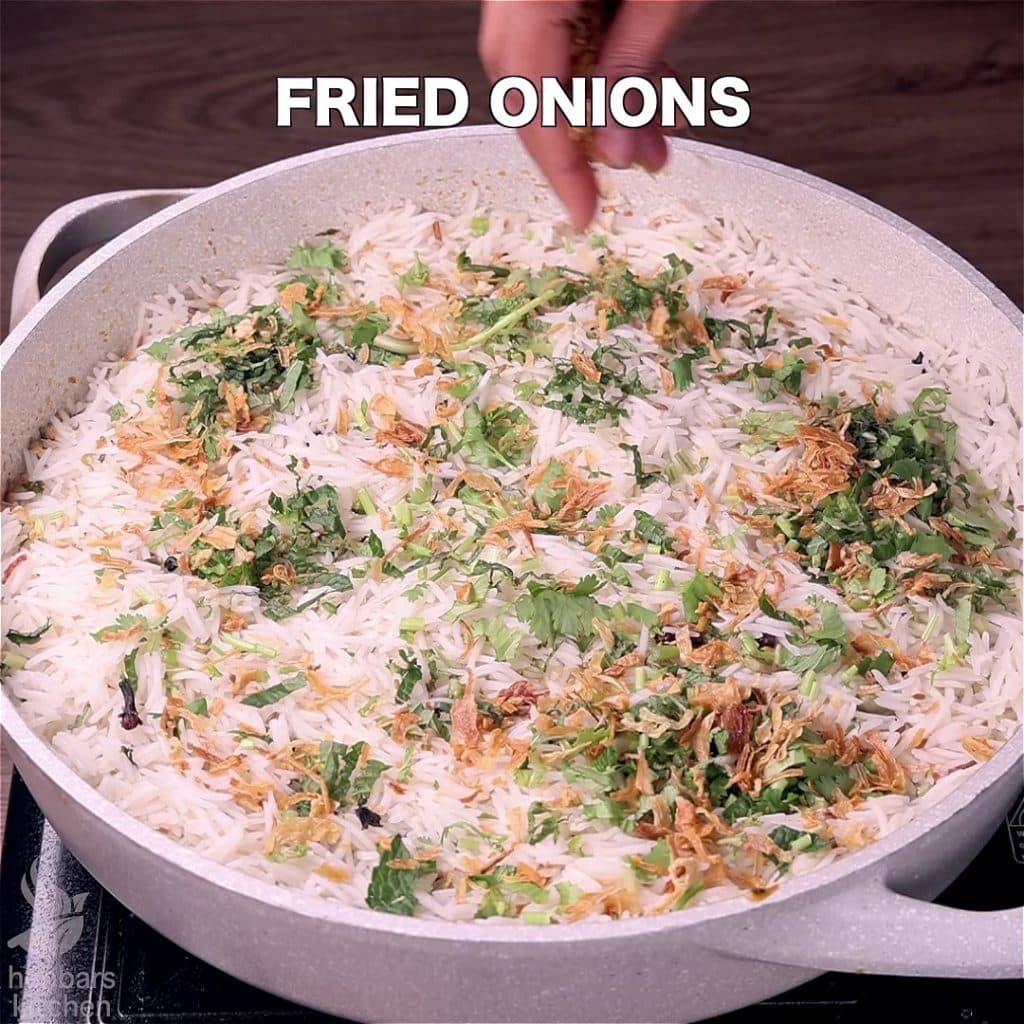
- Pour ½ cup saffron milk, 1 tsp biryani masala and 2 tsp ghee.
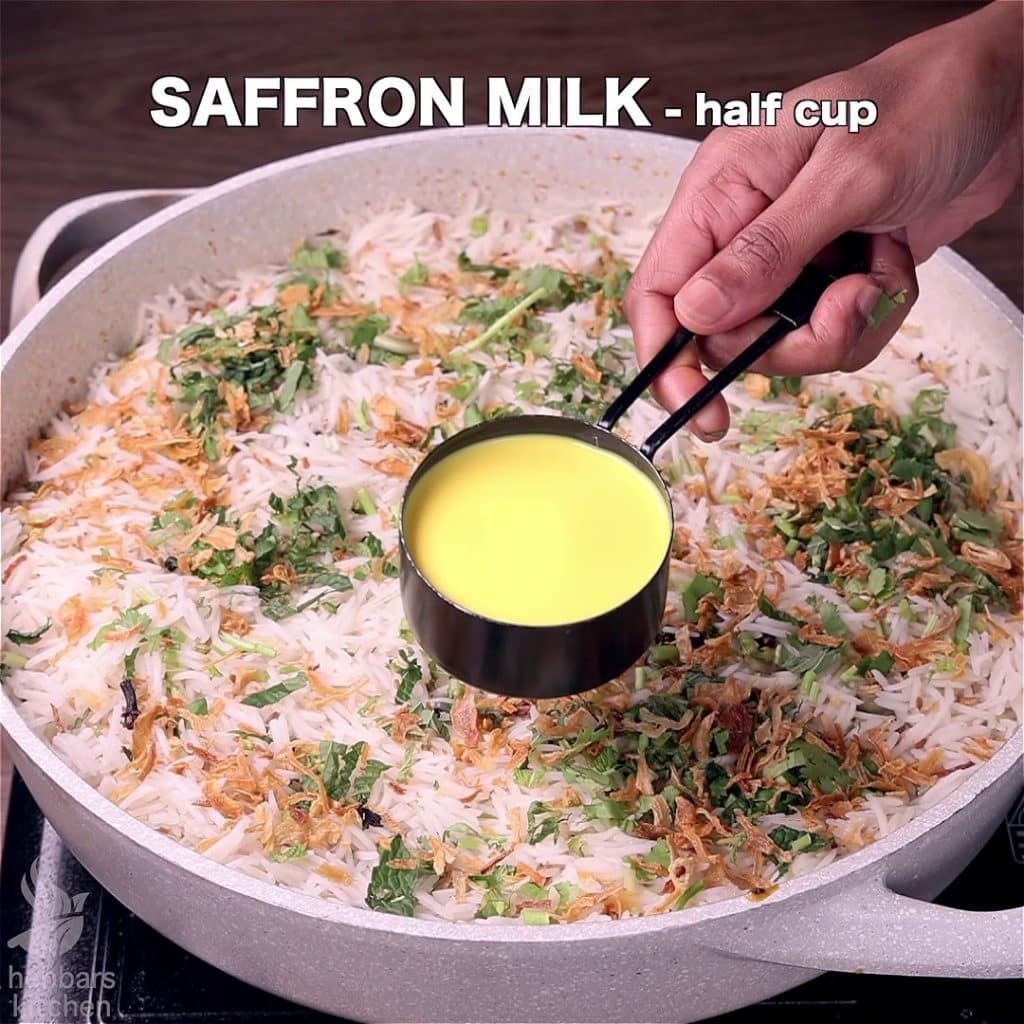
- Cover and seal using almunium foil.

- Simmer for 20 minutes, or until the rice is cooked well. make sure to rest for at least 30 minutes, before serving the veg dum biryani.

- Finally, enjoy Veg Dum Biryani with salan and raita.

Notes:
- Firstly, you can also seal the vessel with dough to make sure the steam doesn’t escape.
- Also, add vegetables of your choice to make it more nutritious.
- Additionally, use a thick-bottomed vessel and cook the biryani on low flame, or else the biryani might burn at the bottom.
- Finally, Hyderabadi Veg Dum Biryani tastes great when served after 2-3 hours of preparation.
All my family members appreciated this recipe. Thanks …
Thanks a lot 🙂
I am a big follower of your recipes. I tried almost 20 recipes from your list. It’s very easy to cook and the most important thing I like about you is that with simple, easily available spices your innovation is just commendable.
Love all your food recipes. Keep posting new recipes, as my family is vegan too.
Thanks a lot 🙂
Excellent taste and the outcome was so yummy… Great aroma…. Almost all your recipes are easy to follow
thanks a lot 🙂
Finally tried it and trust me it’s awesome 🙂 thanks hebbar kitchen
Thanks a lot 🙂
Hi can i substitute biryani masala with some other masala? I dont have the biryani masala.
dum biryani taste great if you add biryani masala itself..
try this – http://hebbarskitchen.com/homemade-biryani-masala-powder-recipe/
Vegetables should be boiled or raw??
add raw vegetables and then boil it until its completely cooked..may be for about 15-20 mins.
Comments are closed.